Ultimately, I am aiming to have the garden reach a stage at which it is self replenishing, requiring minimum maintenance. A non-till synergistic garden. At this early stage in the garden`s development however, I am creating and producing as much organic matter as possible to build healthy soil relatively quickly.
Here`s how I have been doing it so far.
I am aiming to produce a lot of organic matter. 18 day compost is a fantastic method of producing extremely rich compost by maximising the heat produced with a structured programme that must be adhered to. A great on-line resource explaining 18 day composting in detail is available here. It needs regular attention however, that I cannot currently guarantee to be able to devote the necessary time towards.
Neither can I afford to wait the time period necessary to adopt the "chuck it in a pile and leave it" methodology of compost production!
I am not following either method as neither suits my current situation.
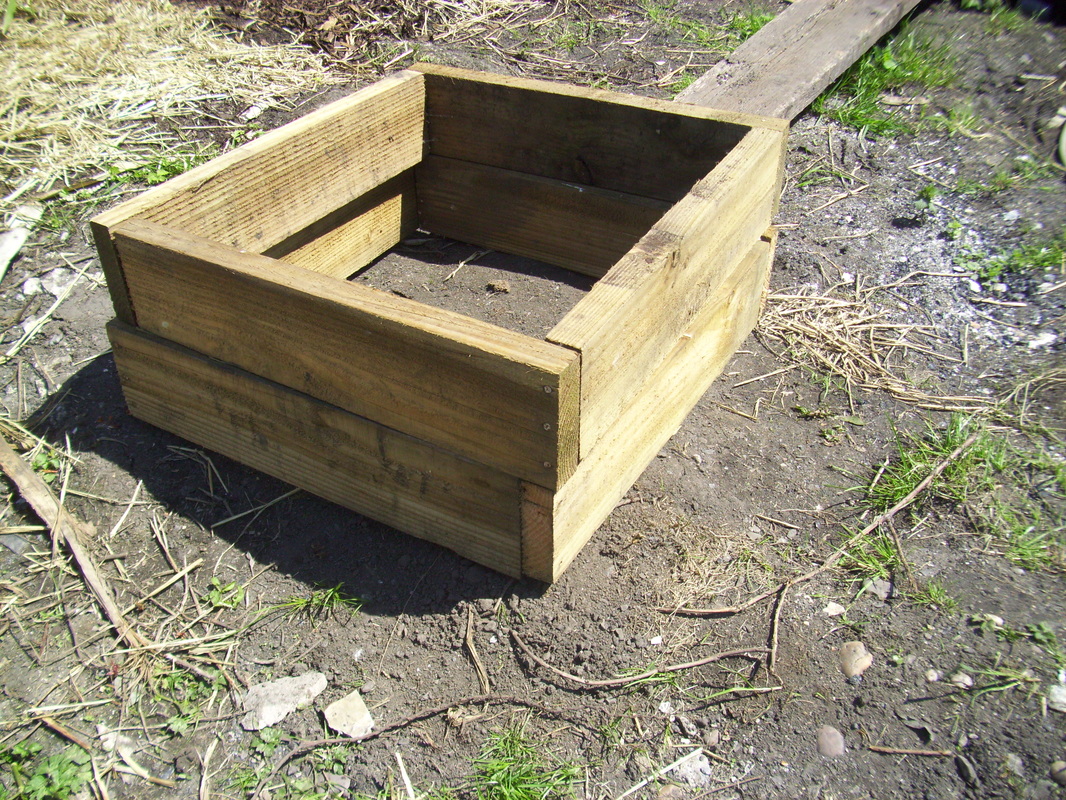
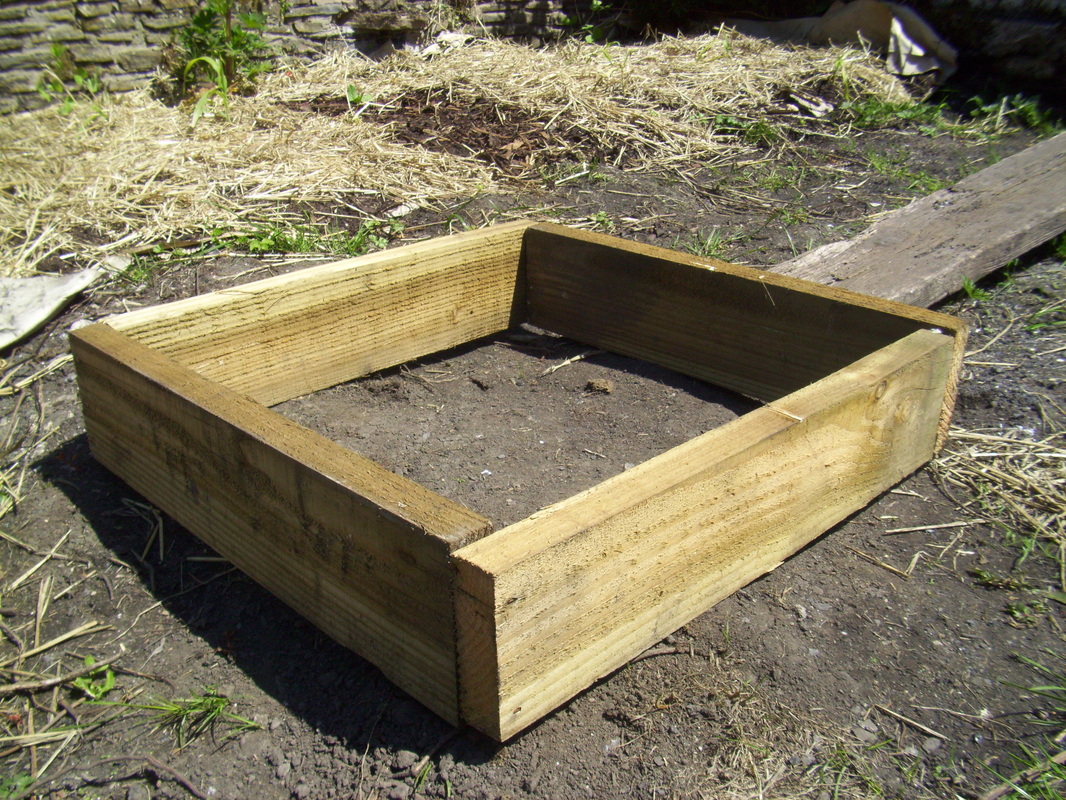
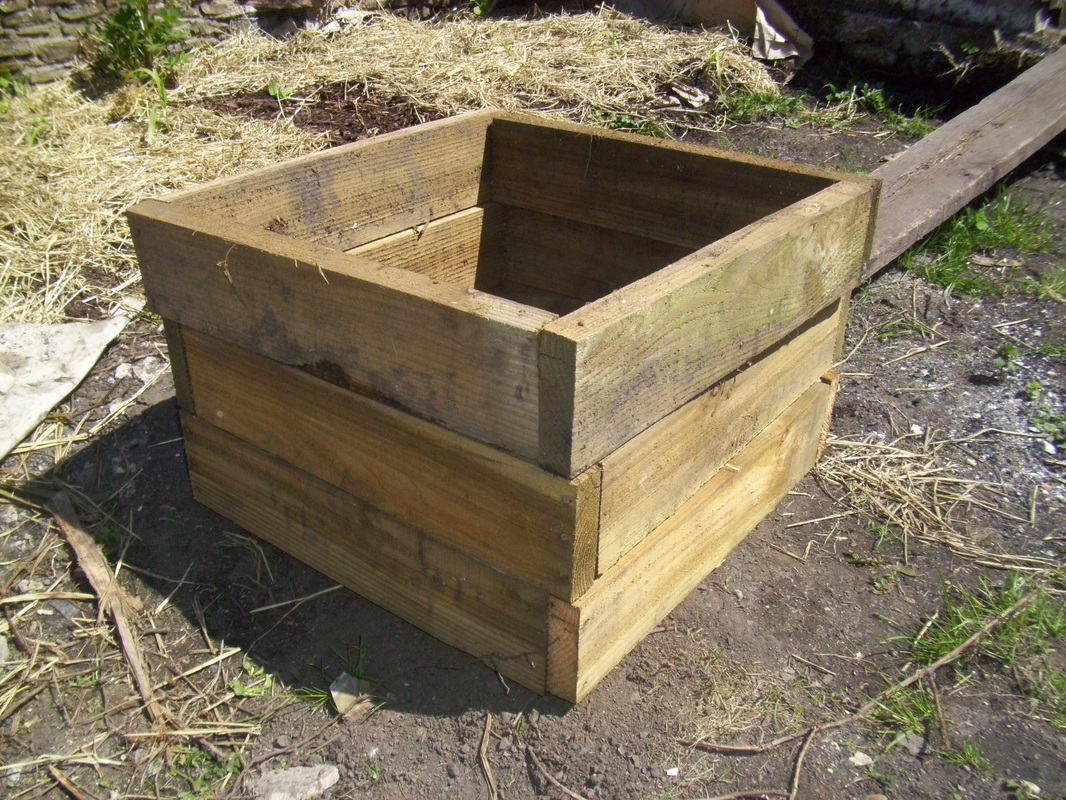
Instead, I am going along my own route; a blend of the two previously mentioned composting methods meeting in the middle. I have very roughly knocked together simple frames about 15 - 20cm deep and a meter or a little more square. They can be stacked on top of one another as shown in the images. I have made a considerable quantity of frames, and will continue to make more as I need them. Having so many frames means that I can simultaneously have several composting heaps on the go at once.
I turn the compost piles regularly. This adds oxygen to the mix and aids aerobic decomposition rather than anaerobic decomposition which a) stinks to high heaven and b) takes too long. Contrastingly, regularly turned compost becomes sweet smelling remarkably quickly as long as it does not get too wet. Having multiple frames aids the turning process also.
You can`t have too many frames!
When I want to turn the whole pile, I place an empty frame on the ground next to the pile/stack. I fork the top layer of the original stack into the centre of the empty frame on the ground, mixing what is on the outside of the pile into the centre of the empty frame, then piling what was originally in the middle of the top frame of the old stack around the pile in the middle of the new frame. Once the new frame is filled with the freshly turned composting material from the top frame of the original stack, I take the now empty frame from the top of the original stack and place it on top of the newly filled frame. I just repeat the process until the entire contents of the stack has been turned into the "new" stack. I am left with the empty frame that was the bottom frame of the original stack, and which can be used to start another pile elsewhere in the garden. This methodology of course means that you will have a constantly evolving mobile composting system, and the various areas of ground where each stack is sited will benefit from a healthy inoculation of organic compost.
.
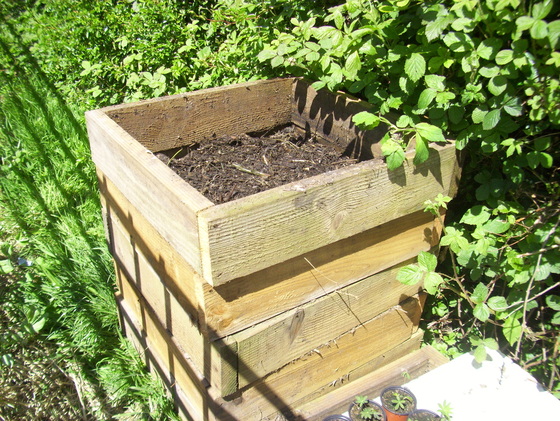
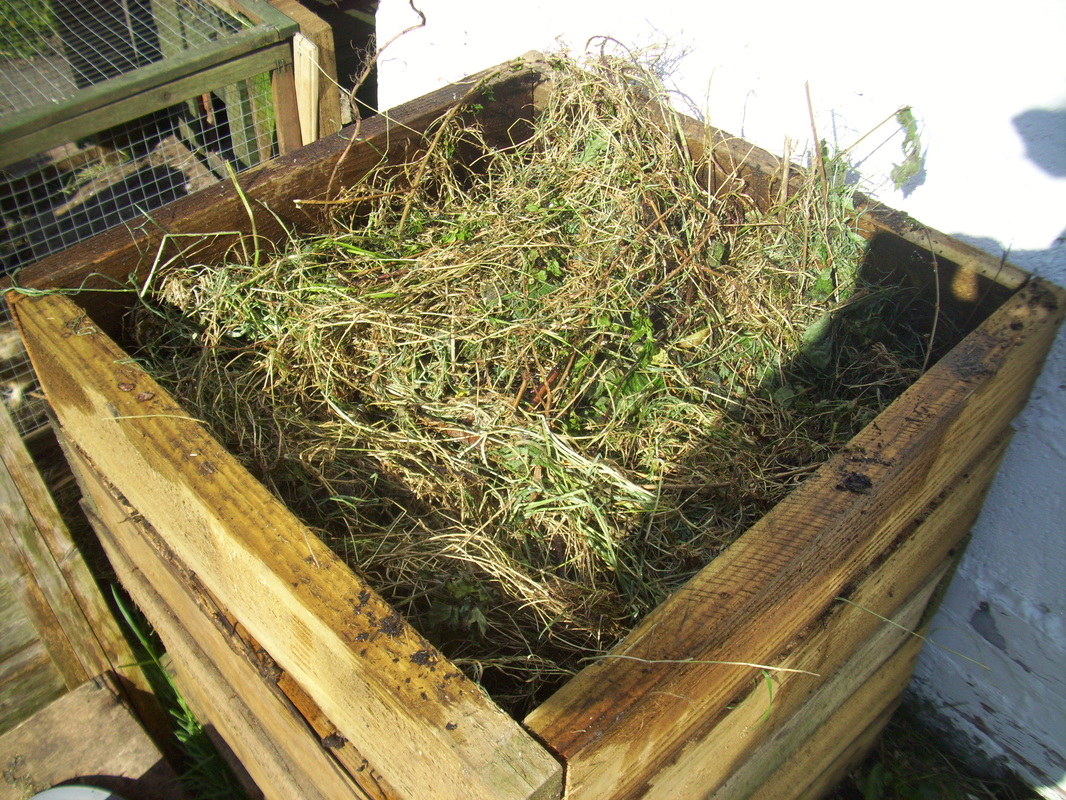
Here is a stack that is nearing the end of the process. It has been turned probably a dozen times and has been kept covered to prevent drying out or getting too wet from the rain. The lid has been removed just for the purposes of the photograph.
Several stacks like this in progress at any one time can produce a lot of good quality life giving and soil building compost.
Trimmings and prunings from the garden, garden weeds (once dried out), weed harvested from the pond, kitchen vegetable scraps (but not cooked food, that goes to the chickens instead), chicken manure, leaves, grass cuttings and wood shavings from wood working and fire wood processing can all go into the mix in layers. Try not to put too much of one thing in at a time, break it up among different piles in different layers.
A layer of carbon such as dried weeds, straw, dried grass cuttings, leaves, garden prunings or wood shavings makes a good place to start. Make each layer a few cm deep.
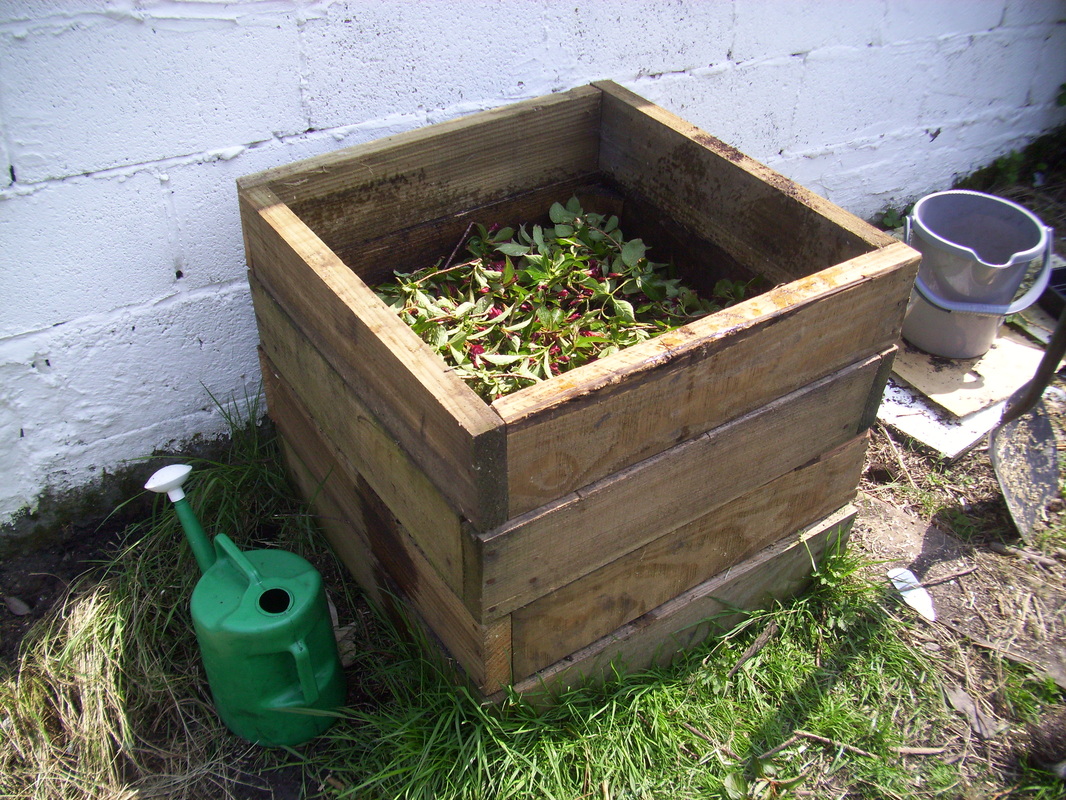
The top layer, just added is green garden trimmings
Add some water to each layer whilst building the stack, and add the next layer which could be green mass such as vegetable peelings or fresh grass cuttings. Add more water, then the next layer, which could be say, manure. After adding more water to the manure layer, go back to adding another layer of whatever went in first, then more water, then another layer of something different. A layer of green waste, a layer of manure, a layer of dry carbon waste, a layer of green waste (adding water the whole time to each layer) and so on until the stack is about a meter and a half high. Then cover it with a board or tarpaulin to protect from sun and rain. During springtime, I am finding the boards a very useful space to place out young plants growing on in pots and allow them access to the elements.
Add organic matter - Build healthy soil!

Next layer added, wood shavings from a green wood working session. Don`t forget to give it a good soaking
If you are short of organic matter to compost, grow an area of green manure in the garden. Green manure is a term to describe a variety of fast growing plant species (examples include clovers, lupins etc) that pull nitrogen into the soil from the air through their leaves. Sow your green manure patch at an area where the soil needs rebuilding. Utilise chop and drop methodology, grow something else in the spot once the soil has been improved by the green manure crop and depending at which stage your garden is developing or what your aim is, either use the dropped crop as a mulch in situ, or compost it in your layered stack system.
.
In the image on the left, the next layer has been added, in this case, a layer of chicken manure. It`s mixed with wood shavings as well. Add some water, then it`s time for the next layer.
.
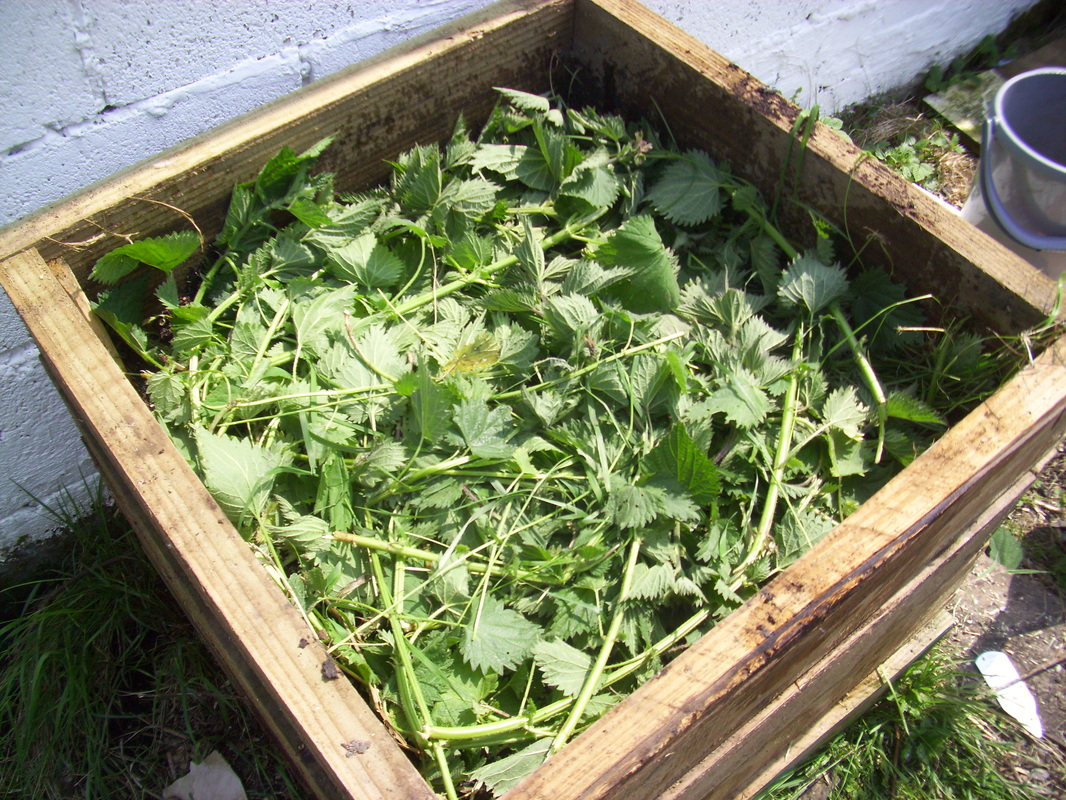
Another layer is added, this time a fresh green layer. I chopped down a few nettles from the nettle patch to use for this layer. Nettles are full of nitrogen and are a great addition to the compost pile. The sting goes from the leaves after a short time in the compost, so it`s safe to turn in a few days. If you pull the whole nettle up (uproot it) be careful not to throw the roots in to the compost pile or you may start another nettle patch! I cut the roots off, lay them out on a pathway to dry where I can see them easily, and once dead and dry and totally shrivelled, I then add them to the pile. Add some more water, and then think about the next layer.
.
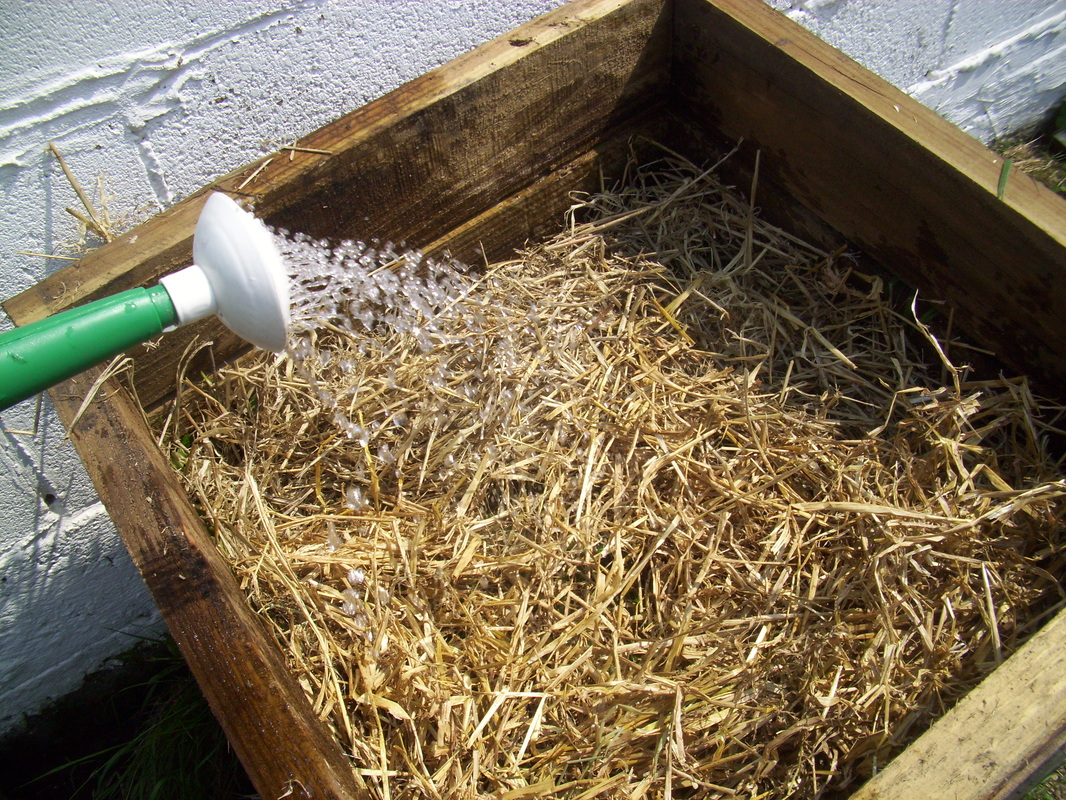
The next layer in this case is some dry straw, a carbon layer. Add plenty of water. You can see in the image that I have also added another frame to the stack.
I had other jobs to do in this instance, so I put a board across the top as a lid to keep the rain and sun out (so the stack didn`t get too wet or dry out) and came back to it the next day.
I had other jobs to do in this instance, so I put a board across the top as a lid to keep the rain and sun out (so the stack didn`t get too wet or dry out) and came back to it the next day.
.

So the next day, after a day of working in the garden I added a few more greens....
.
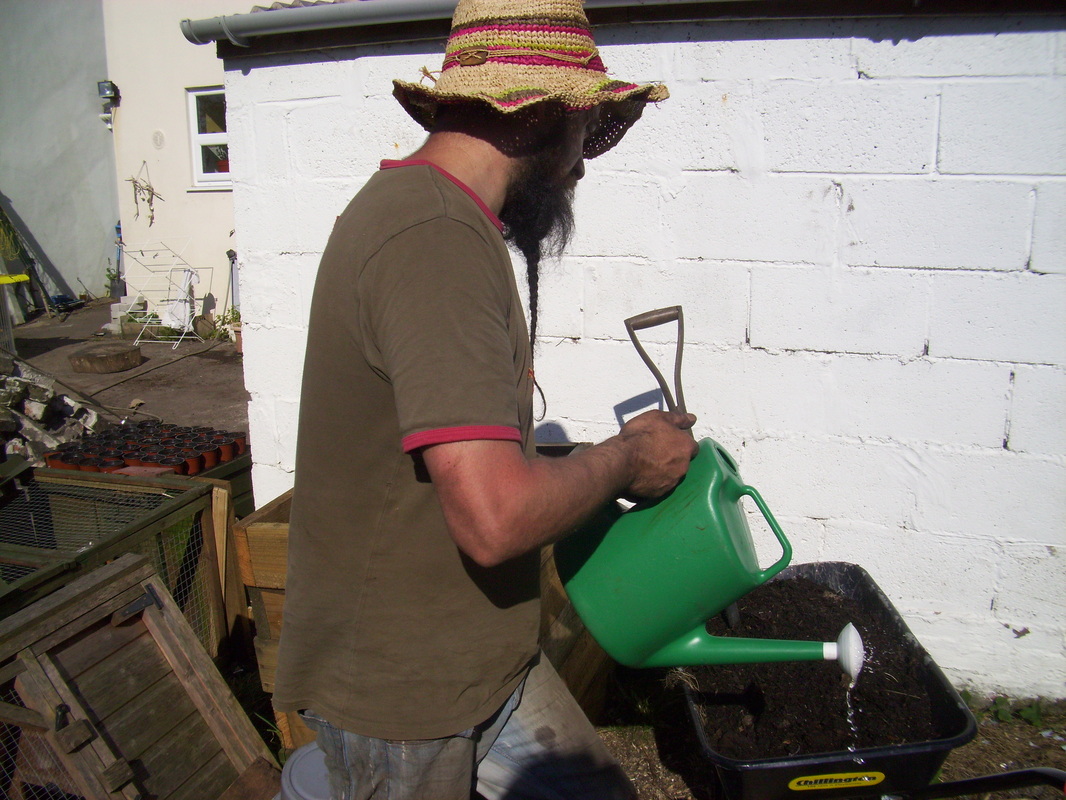
...and plenty of water as it was pretty hot.
Next comes my favourite bit...
Next comes my favourite bit...
.
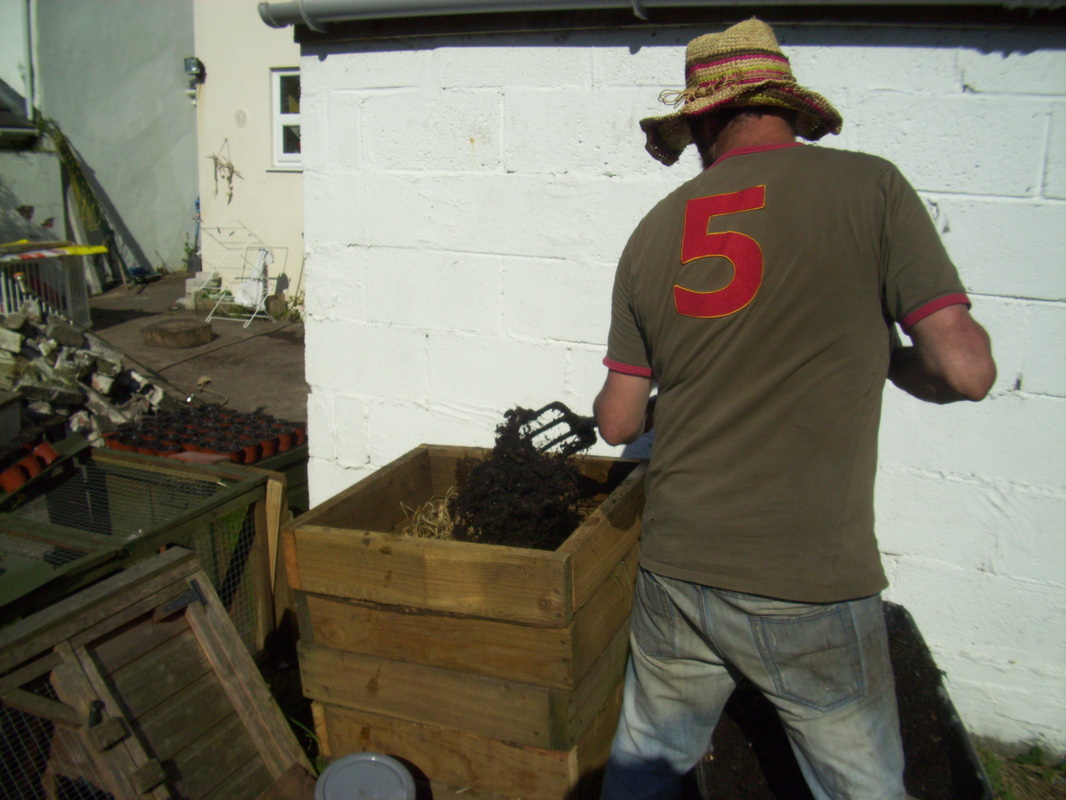
...I always add a generous portion (wheel barrow full) of mature compost from another older stack. In this instance, I was using another finished stack to add to my newly made Hugelculture bed anyway, so I took this barrow full (about one frame`s worth) and added it to the new stack. The main reason that I do this is to "inoculate" the new stack with compost worms as well as all the friendly bacteria that comes with the compost to kick start the new stack in to action.
.
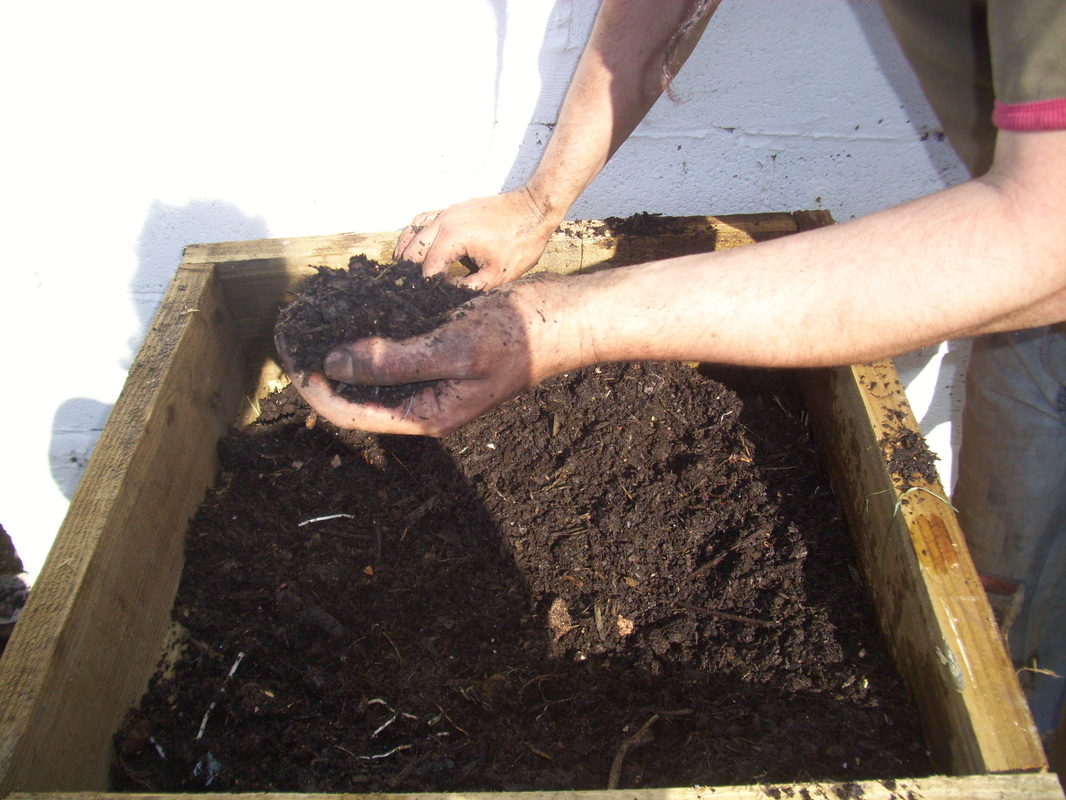
Lovely stuff! It is sweet smelling, dark, moist and full of goodness. It literally adds life to your soil, and there is nothing better for plants. Much better than any dried out sterile garden centre compost or any "drugged up" fertilizer that turns healthy plants into dependant addicts.
I love to get my hands right in it!
.
Once I have run out of excuses to keep playing with the stuff, I have to resign myself to doing the next layer.
Such lovely stuff! FWOOOAARR!! Just look at it! (I am perfectly normal really, honestly I am!)
.
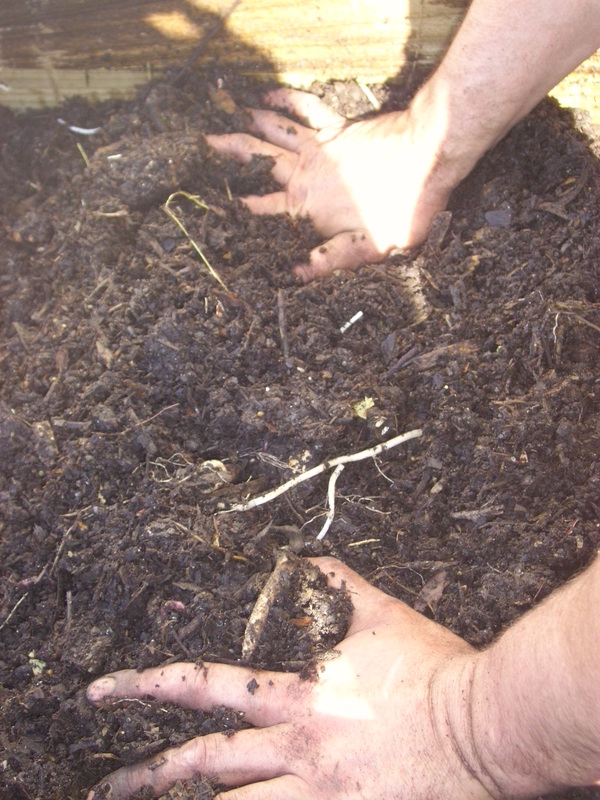
One final layer of dried weeds from the garden, and then add some more water. The worms will start to pull this layer down, but depending on what your stack comprises of, or how hot it gets in the centre, may travel downwards to begin with and start work on the layers beneath. In about a week`s time, I will turn the whole stack as described earlier to get some more oxygen into the stack.
.
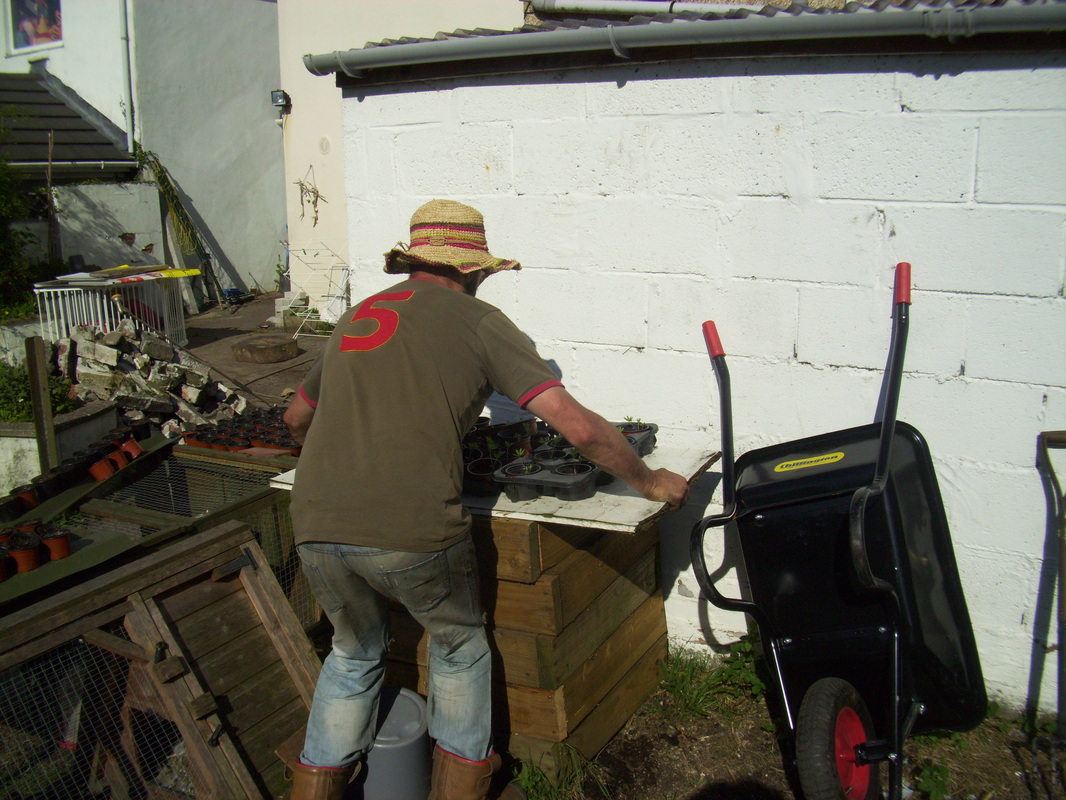
Lastly, make sure you cover the stack with a lid of some sort. In this instance, an old piece of board which is covered in baby lupin plants in pots.
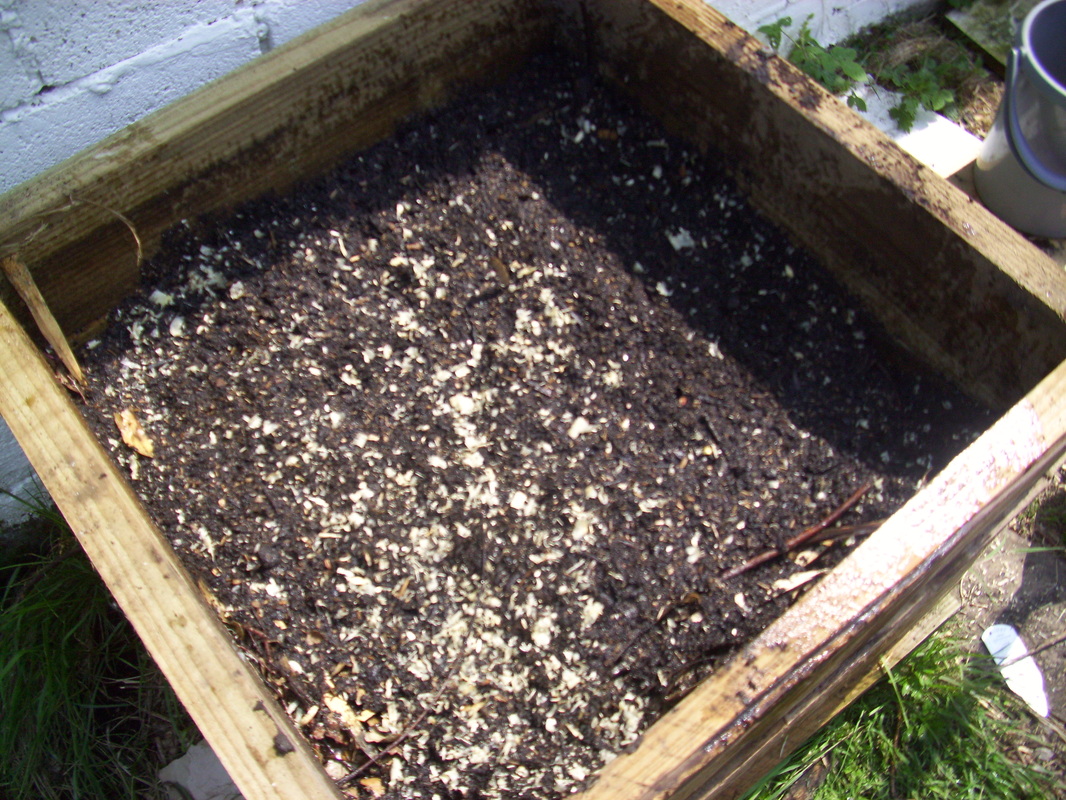
A close up of home produced compost, near the stage of completion...
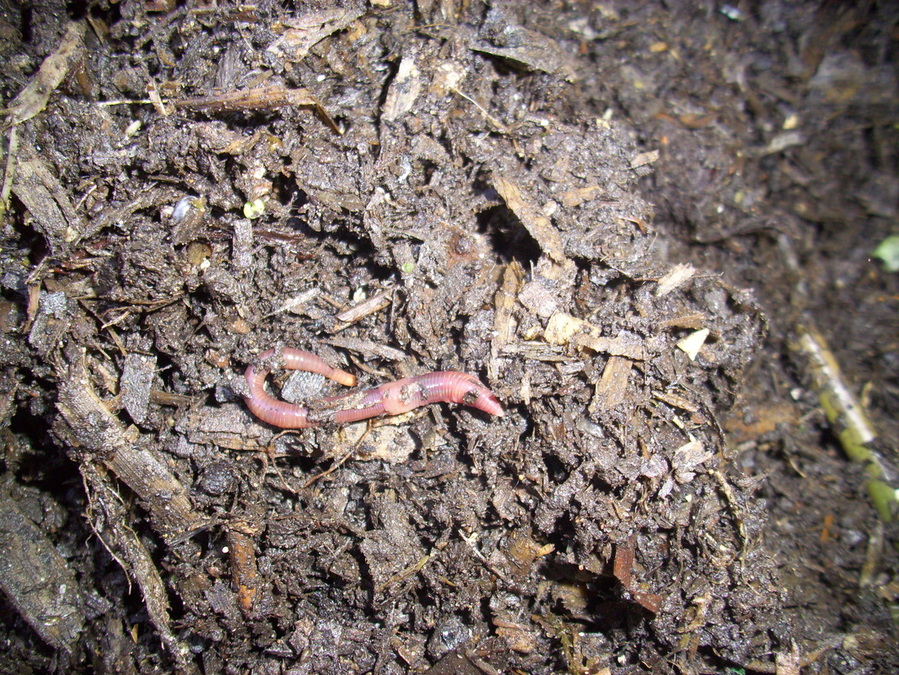
Composting worms are a great help. I add worms and finished compost to every newly built stack as an "inoculation" to kick start the process, along with accompanying friendly bacteria in the compost that comes with them. Composting worms don`t like too many citrus fruit peelings, or onions. They can cope with low levels of both however (other friendly beasties in the compost will take care of them) which is another reason to compost in layers of mixed matter, never too much of any one thing at once.
You wont buy compost anywhere that even comes close to the quality and richness of home produced organic compost. It makes superb biological compost tea also which makes it go farther and feeds your soil.
Reminders;
Don`t put too much of any one component in at once, layer it
Add water to every layer as you build the stack
Keep the stack covered
Don`t add cooked food; it attracts rats
Turn the pile every week or so to allow oxygen into the stack and speed the process up.
When you turn the pile, if the pile is too wet, add more dry matter
If the pile is too dry, add more water
The composting process happens quicker in the summer than in the winter!
Happy composting!
